Project Teams
Once you've created your project, you'll be directed to the 'Team' page where you can start adding your team members.
Remember, Part3 is a collaborative platform. The more people in your project, the more you get out of Part3.
Adding Companies
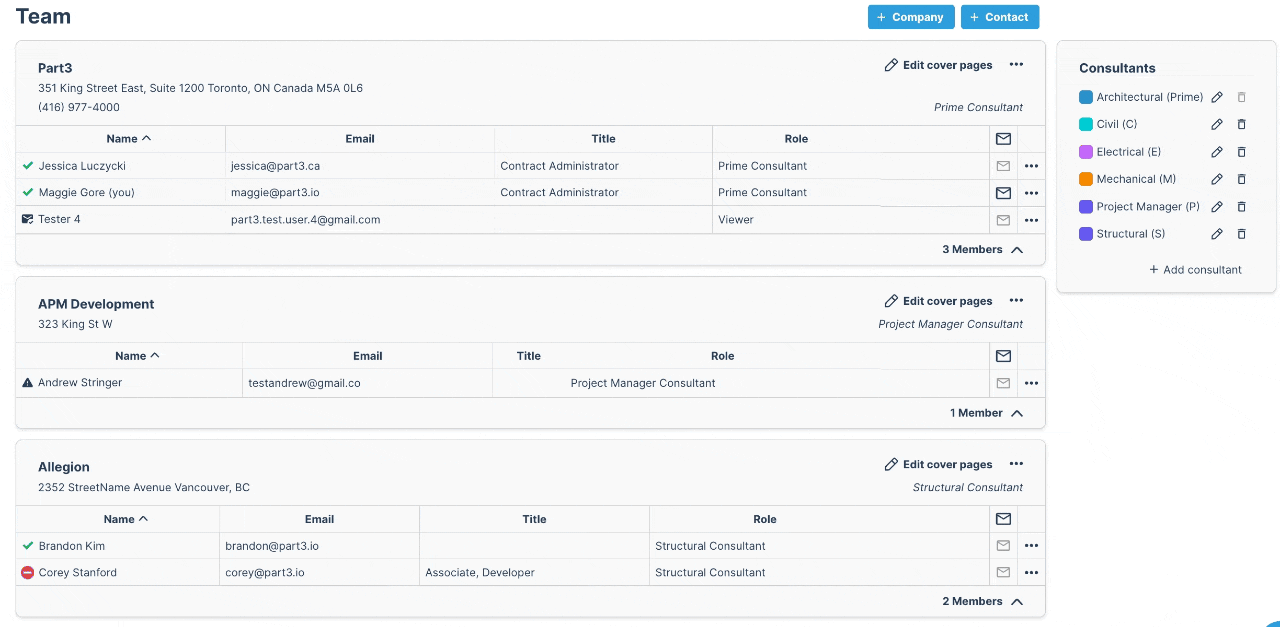
When you first create a project, your team page will look a little something like this:

Step 1: Start by adding the participating Companies to your project by clicking '+ Company'.

Step 2: Find the company in your directory.

If you're just starting in Part3 and don't have any companies in your directory, type in the name of the company and click 'Create'
Fill out the required company information

Step 3: Assign the company's Role and enter their discipline. If a company is multidisciplinary (ie: Mechanical and Electrical), you can add multiple roles by clicking 'Add another role'.

Refer to this help doc to understand the different permission levels of each role.
Adding Members
Step 1: Add the user to each Company. You can add members by clicking the '+Contact' button in the top right corner of the screen or by clicking the 3 dots.

Step 2: Browse your company's directory to select a contact.
If you cannot find the person, you can add a new contact.
Add the users' information, role, and select the permission (optional). When you are ready, click 'Add Member'.

Multidisciplinary Companies and People
If you are adding a Consultant that is multidisciplinary, you can select multiple roles.
For example, if Company XYZ is both Electrical and Mechanical, you can assign multiple roles.
Click 'Add another role' and select the other discipline that applies.

You can also adjust the roles at the individual contact level.
When adding a contact, you can either remove a role, or add another. Then scroll down and hit save/update.

Adjusting a Team Member's Role/Company/Permissions
Prime consultants can update any team member's details at any time directly from the Teams page. Here's how:
Step 1 Head to the Teams page and click the "..." next to the team member's name, followed by edit
Step 2 Make your changes. You can update their company, role, permission, or all three at once.
Step 3 Once saved, the updates will be reflected immediately on the Teams page.
A Note on Dashboard Permissions
Dashboard Permissions give users access to project stats and analytics. Since this information can be sensitive, we generally recommend keeping Dashboard Permissions within the prime consultant team, and not extending them to external collaborators.
As always, if you have any questions or see an issue with this document, please contact us at support@part3.io