
Organization: Settings
The settings section of your organization is where you will populate all of your Company information and standards that will be used on your project.
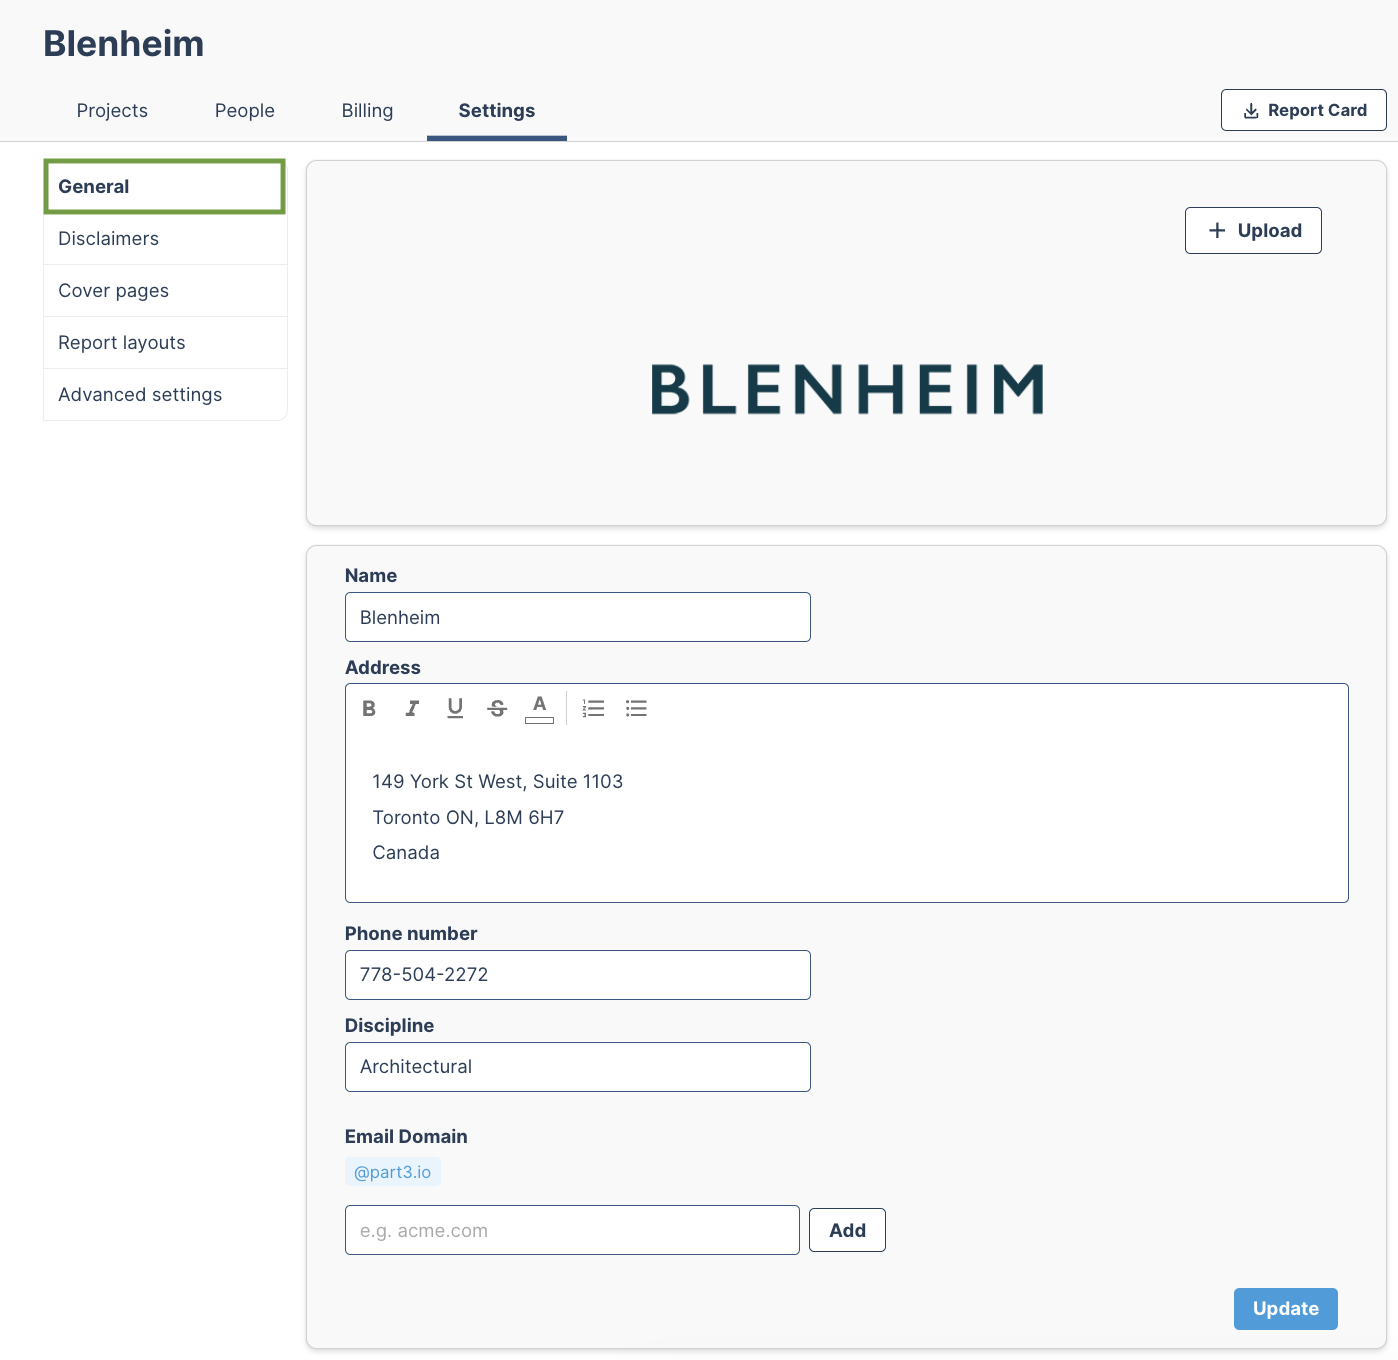
General
In this tab, you can upload your company's logo and information. This information will be used to populate the cover pages and documents that are generated in Part3. You can also update your company's discipline and this will be used as the Prime Consultant's discipline on all projects.
Disclaimers
You can create and modify your company-level disclaimers at your organizational level. These disclaimers will be used on cover pages and documents generated in Part3.
Step 1: To create a disclaimer, click + Add New.
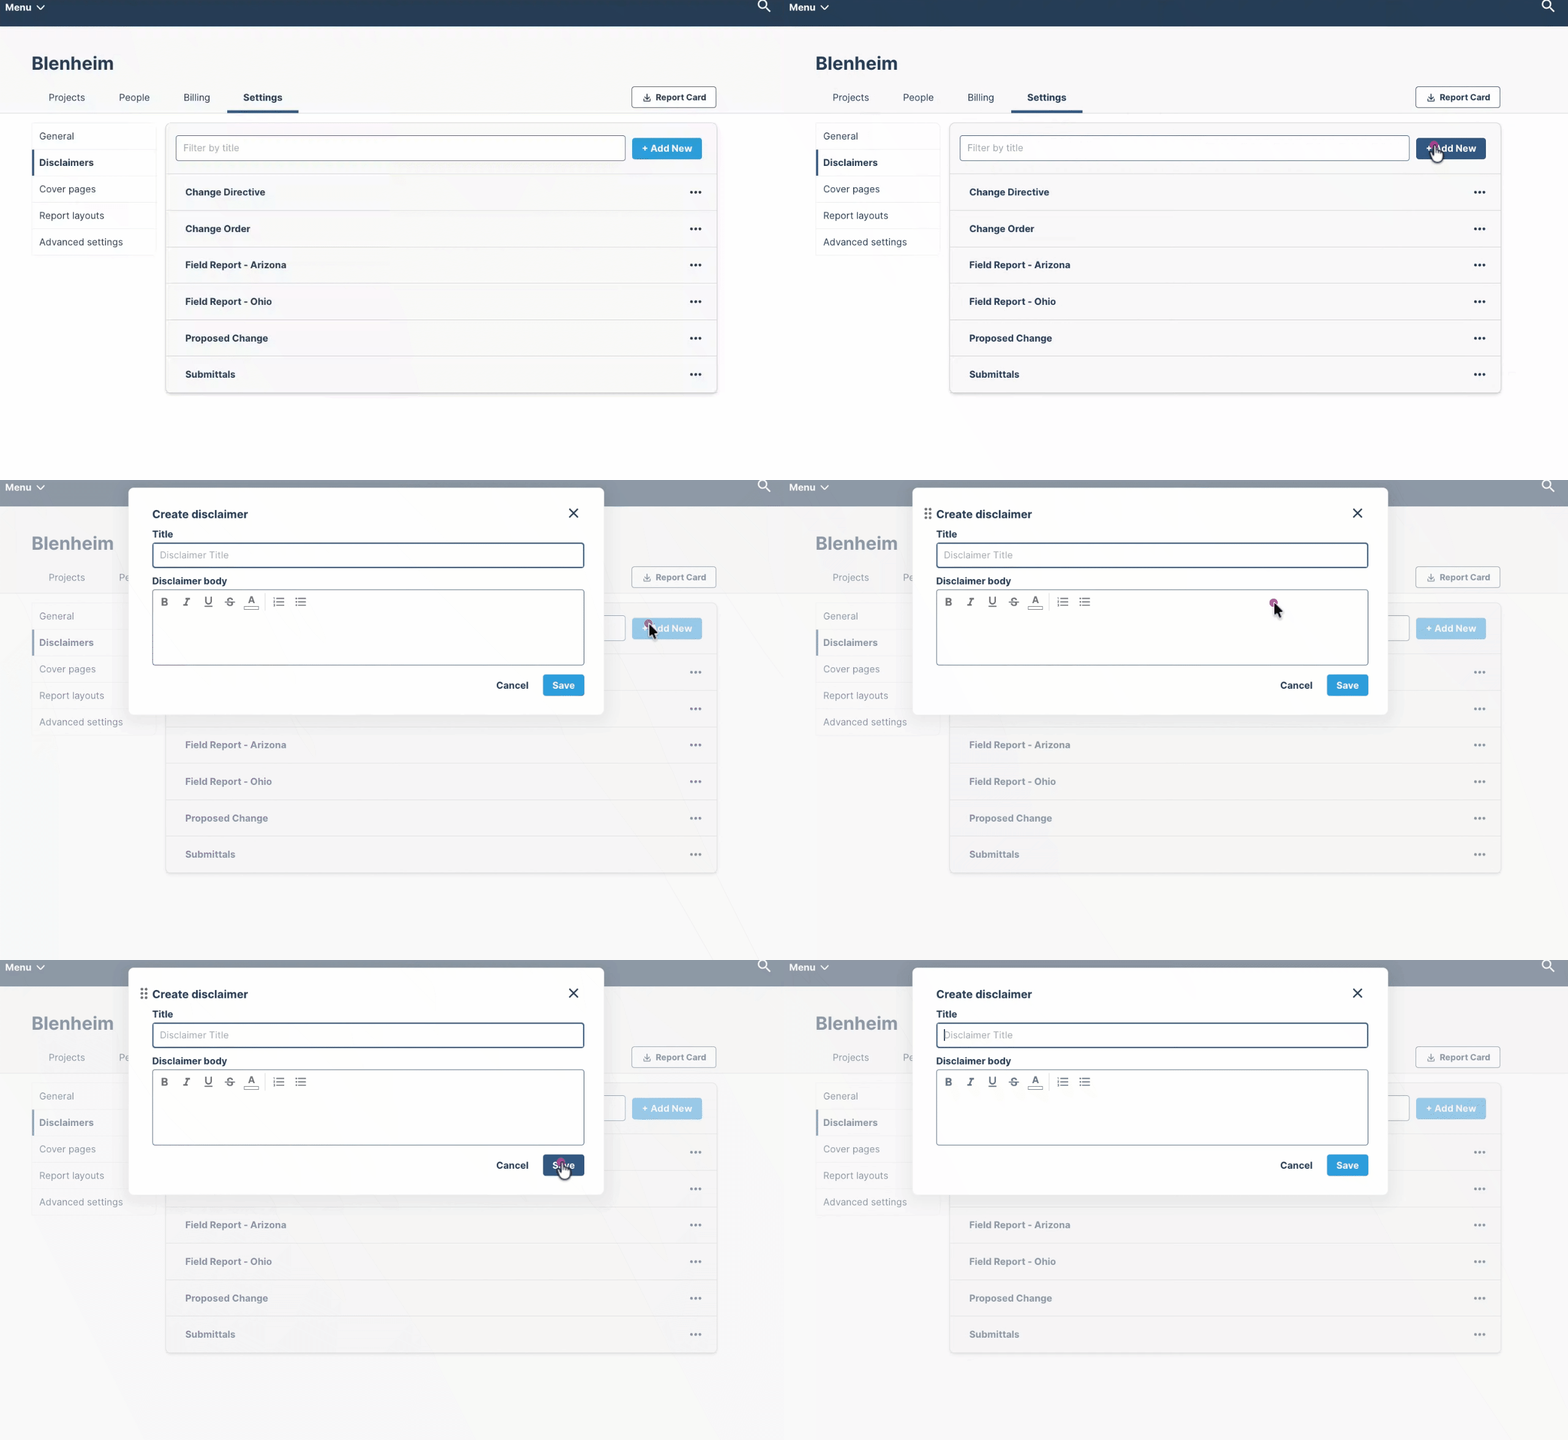
Step 2: Enter the title and disclaimer verbiage that you want to use followed by save.
Tip: You can click the ... next to an existing disclaimer to edit, clone or remove. Read more here.
Project Templates
Your document names, IDs, and disclaimers are managed through project templates. A template saves that configuration once, so every new project starts set up the way your firm works instead of being built from scratch.
In this tab you can see every template your organization has saved, edit the settings inside one, rename it, or delete it.
The fastest way to build a template is to configure a project the way you want it and save it from there. Read the full guide to project templates →
Looking for Cover Pages?
This section used to be called Cover Pages. Everything it did now lives in project templates. What's Changed: Project Templates
Report Layouts
Field reports are typically created on every construction project. To help standardize report layouts across your company, you can save different report layouts.
To create a report layout, you must have admin permissions at the organization level. First create a report and then save that layout. To learn more about this click here.
All layouts will be saved at the organization level.

Layouts can be renamed or deleted at any time by selecting the gear icon.
Advanced Settings
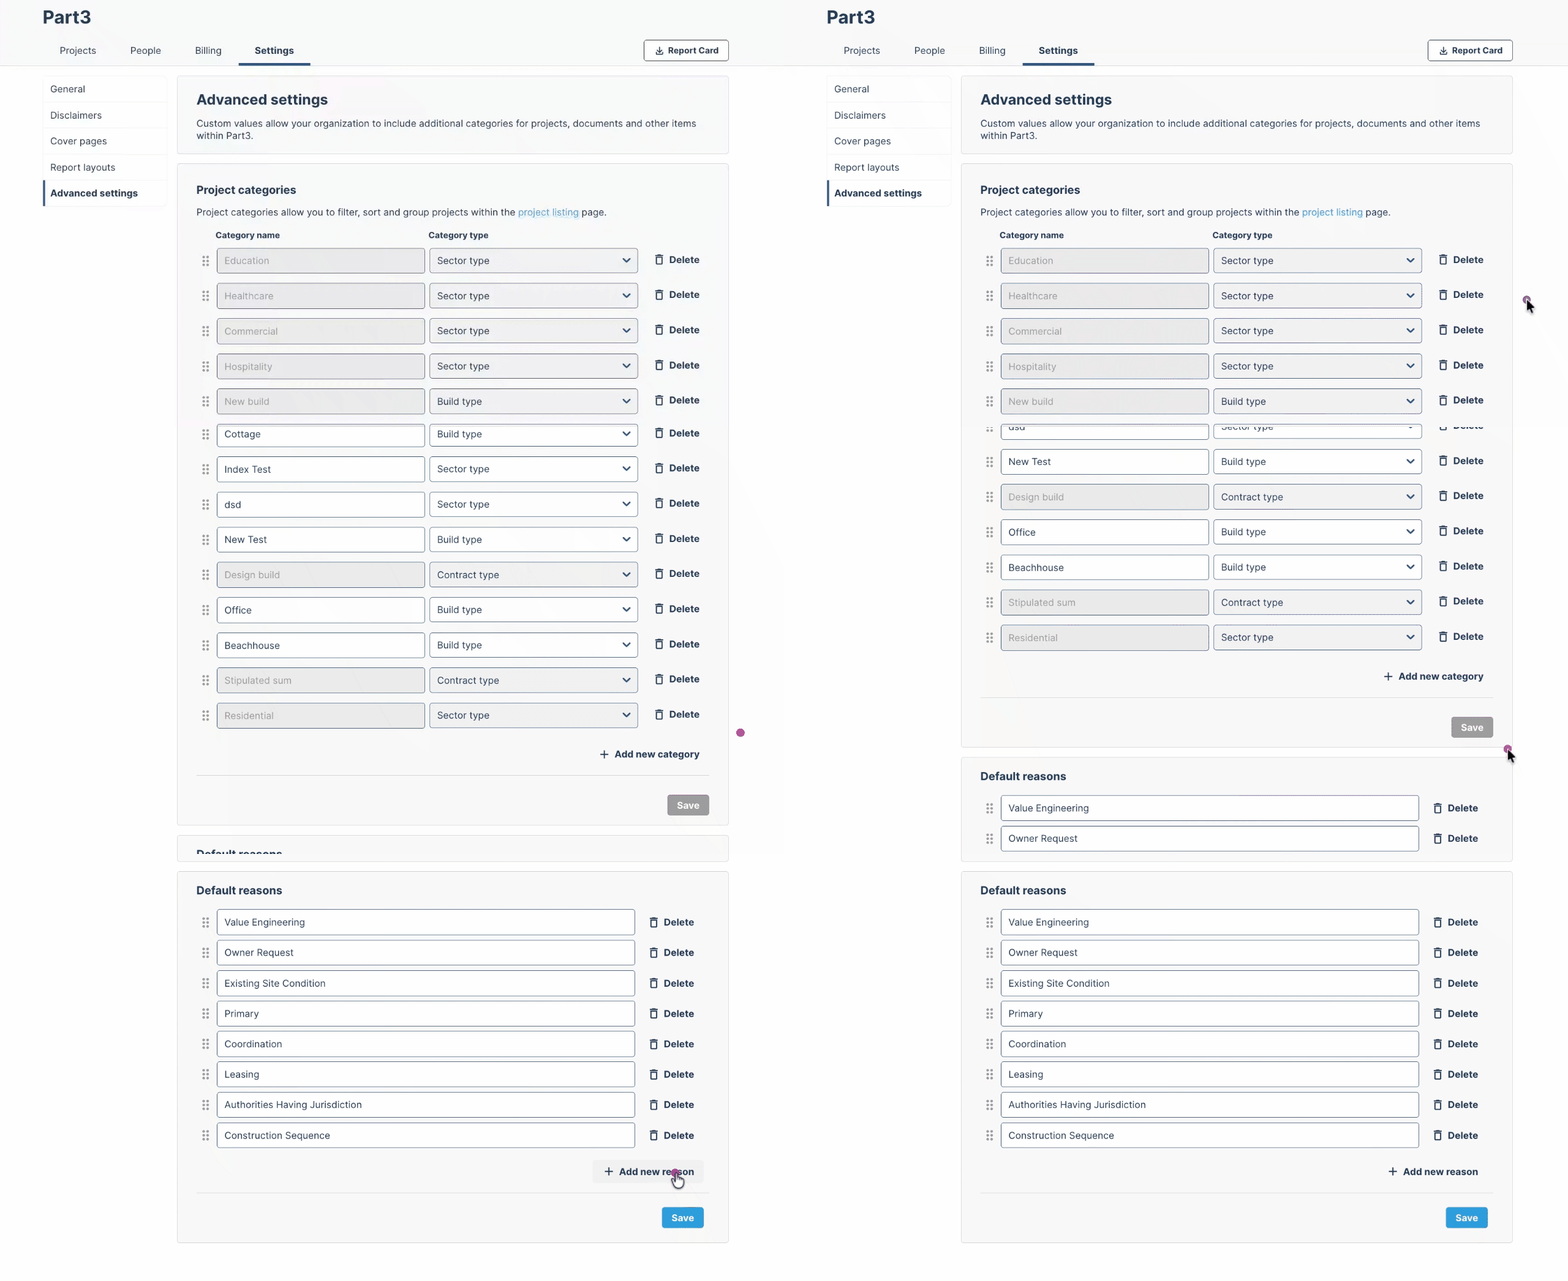
Advanced settings lets admins manage project categories and default reasons across projects.
- Project categories: Custom tags (name and type) used to filter/sort/group projects on the project listing page.
- Default reasons: A standard list of reason labels (e.g., "Owner Request," "Value Engineering") used for reason fields on change and instruction documents.
Steps to manage entries (either section):
- Click Add new category/reason to create an entry.
- Add the applicable info
- Click Save to apply changes.
Advanced Settings
In your organization's advanced settings, you can create a list of custom project categories. These categories will be available for all new projects in your organization, which allows you to standardize how projects are classified.
To add a new category, navigate to the 'Advanced Settings' tab and use the '+add new category' function.
Settings managed by Part3 support
The list of available responses for a Submittal review, such as 'Reviewed' or 'Revise and Resubmit', is configured for your entire organization.
To customize this list to match your company's standards, please contact Part3 support.
As always, if you have any questions or see an issue with this document, please contact us at support@part3.io