Certificates - Cover Letter
Part3 has the option to add a cover page to the front of your certificates. Read this article to learn how to enable it, and what you can do with it!
How to enable the cover letter
As a default, we will not enable the cover letter for you. We don't want to make any assumptions about the way you work, so everything is optional. To enable the cover letter, follow these steps.
Step 1: At the project level, click on 'Team' on the left-hand navigation.

Step 2: As the Prime Consultant, your company should be listed at the top of the team's page. Click the 'Edit cover pages' button in the top right of your company listing.

Step 3: Scroll down the list of document types and click on 'Certificate'. Click on the blue 'Include cover letter' toggle.
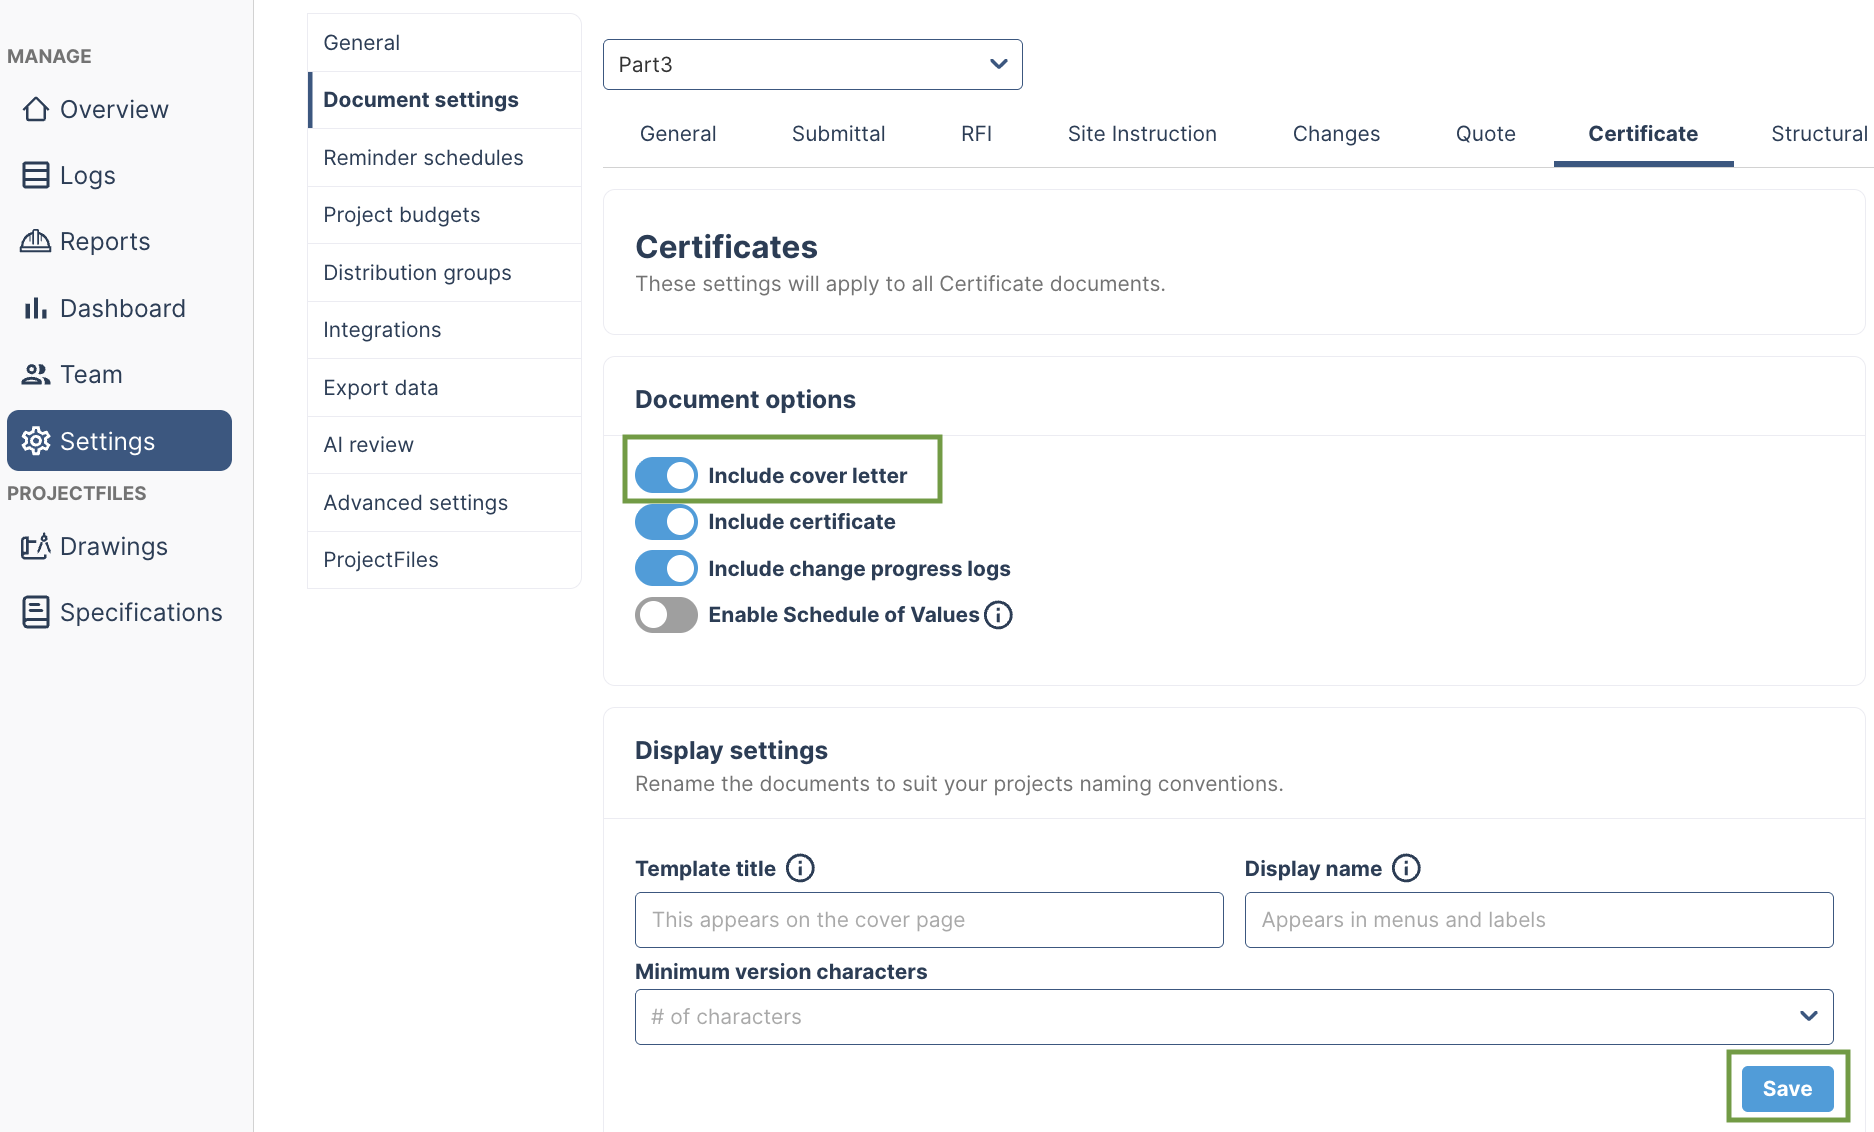
Step 4: Click the blue 'Save Settings' button at the bottom of the pop-up.
Now you have a cover letter! But what's on this cover letter 🤷.... read more below!
Cover Letter Content
Step 1: In the same area, scroll down to view the cover letter template.
Step 2: Edit the content of the cover page to suit your project!

The cover letter is pre-populated with typical industry language. Pst...American friends, some of this lingo won't apply to you, so make sure you edit the content to suit you! 😉
✨ ✨ ✨
You'll notice that we have auto-fill fields you can select from to auto-populate your letter.
Make sure to keep these or select more options from the list so that your cover page will auto-populate as you complete your certificate!
To view a list of all the auto-fill options, simply type '#' and the list will appear. There are a lot of options, so scroll through to find what you need!

Step 3: Click the blue 'Save Settings' button at the bottom of the pop-up.
Cover Letter at the Certificate Level
Okay, you've enabled the cover letter ✅ and figured out the content ✅. What's next?
Step 1: When you're in the Certificate document, click on the 'Cover letter' dropdown to make the cover letter appear.

Step 2: Double-check the content of the letter. If you need to make any changes to the template, click the 'Edit' button in the top corner of the cover letter area.

Note: To make your company's address look like the sample above, go to your organizational settings and update the line spacing.

Step 3: Click 'Edit' in the top right corner to double-check that all of the information is correct in your certificate. To clarify, the 'Owner representative' is the person you are addressing in the letter. Click the blue 'Save' button when finished.

You're ready to go! As you update the dates and dollar values in the Certificate, the information in the cover letter will automatically populate if you have selected from our list of #.
Step 4: When you are finished and ready to send the certificate for review or issue it, add your signature to the cover letter by clicking the green 'Sign' button in the top right.


Read more about filling out your certificates here!
As always, if you have any questions or see an issue with this document, please contact us at support@part3.io